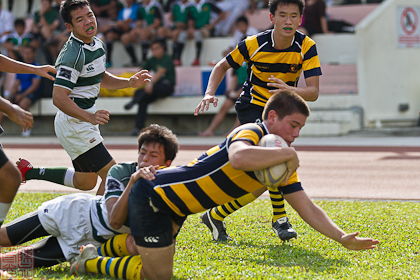
ACS(I)’s Richard Keim stretches for the line. (Photo 2 © Adrian Tan/Red Sports)

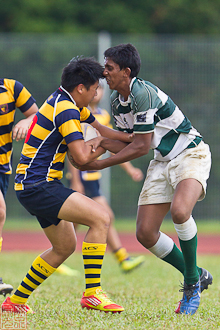
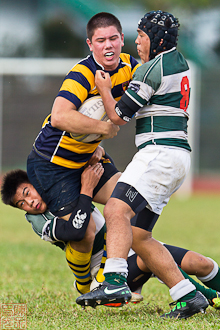
Close contact. (Photo 3 © Adrian Tan/Red Sports)
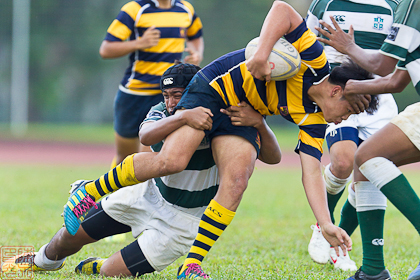
Death grip. (Photo 4 © Adrian Tan/Red Sports)
Doing the tango. (Photo 5 © Adrian Tan/Red Sports)
Force = Mass x acceleration. (Photo 6 © Adrian Tan/Red Sports)
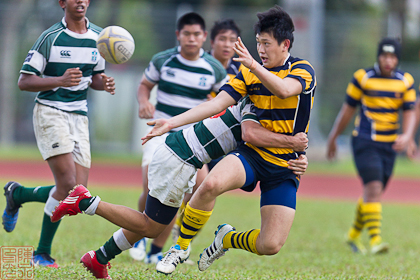
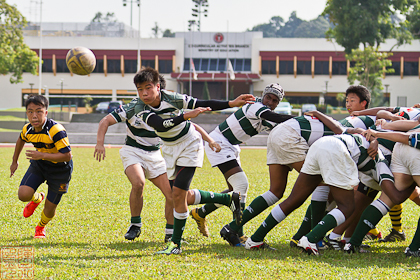
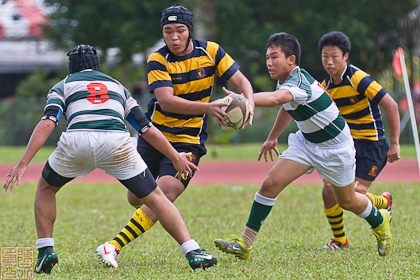
Getting rid of the ball. (Photo 7 © Adrian Tan/Red Sports)
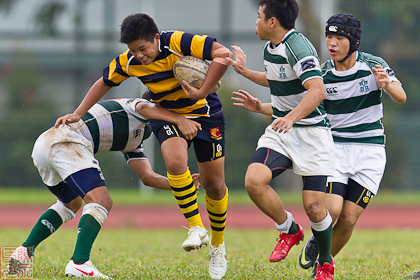
Goose step. (Photo 8 © Adrian Tan/Red Sports)
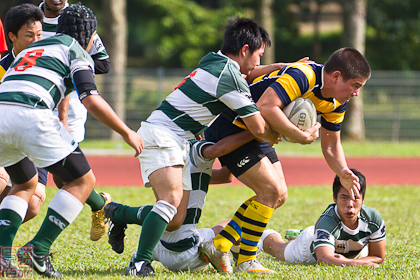
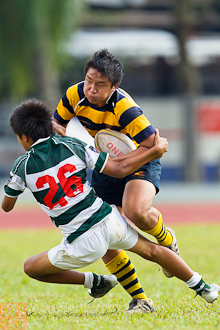
Merely slowing him down. (Photo 9 © Adrian Tan/Red Sports)
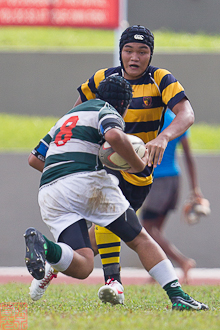
Movement to contact. (Photo 10 © Adrian Tan/Red Sports)
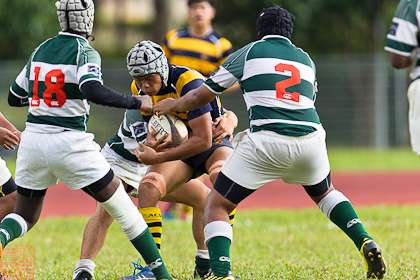
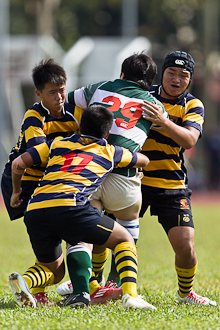
Nowhere to go. (Photo 11 © Adrian Tan/Red Sports)
Over to you. (Photo 12 © Adrian Tan/Red Sports)

Pass out. (Photo 13 © Adrian Tan/Red Sports)
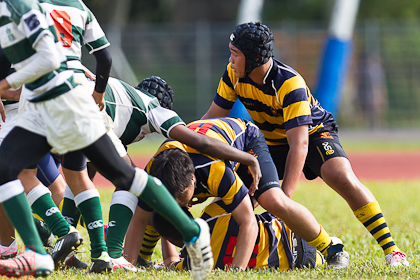
Textbook rucking. (Photo 14 © Adrian Tan/Red Sports)
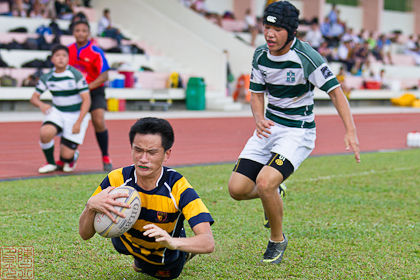
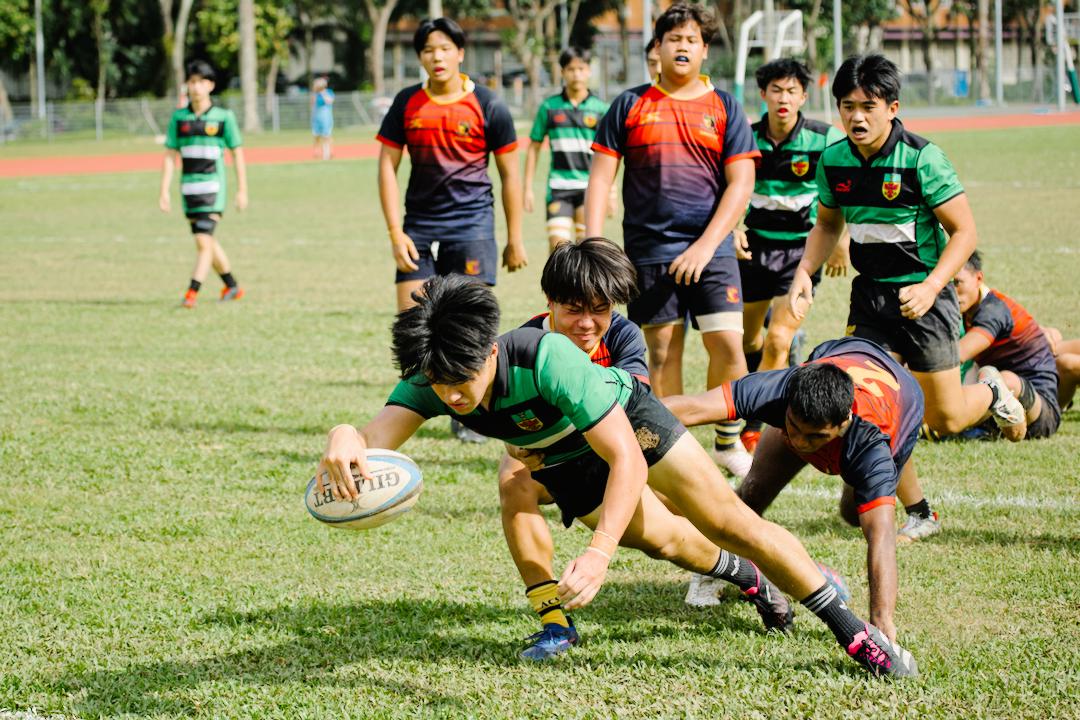
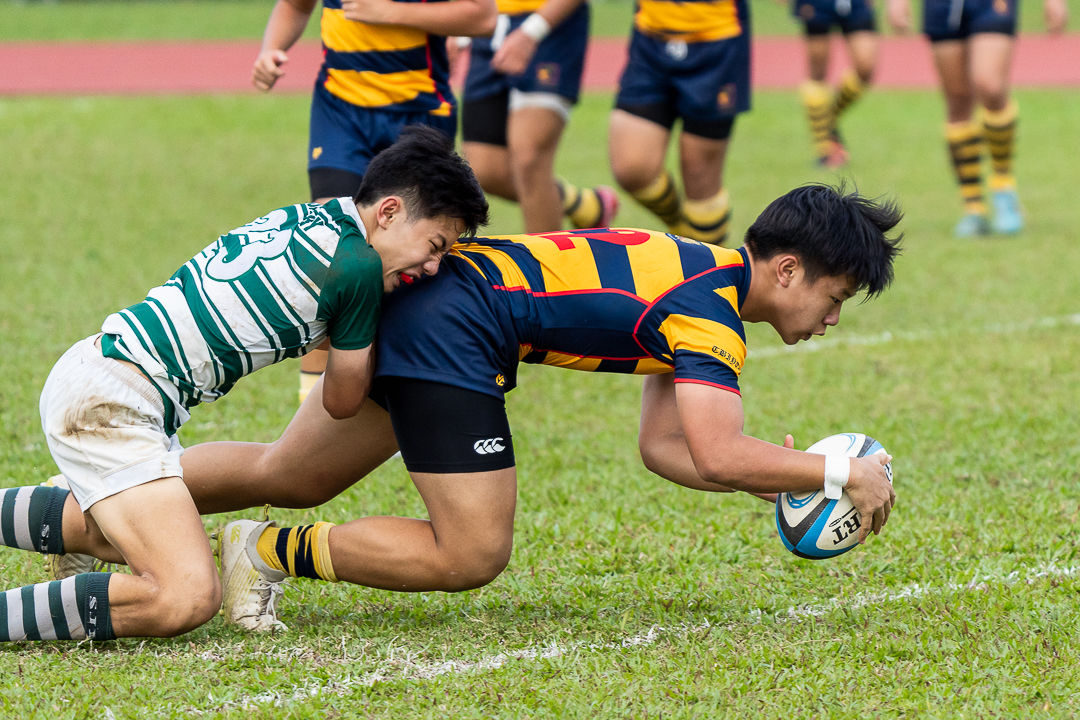
Touchdown. (Photo 15 © Adrian Tan/Red Sports)
Triple team. (Photo 16 © Adrian Tan/Red Sports)
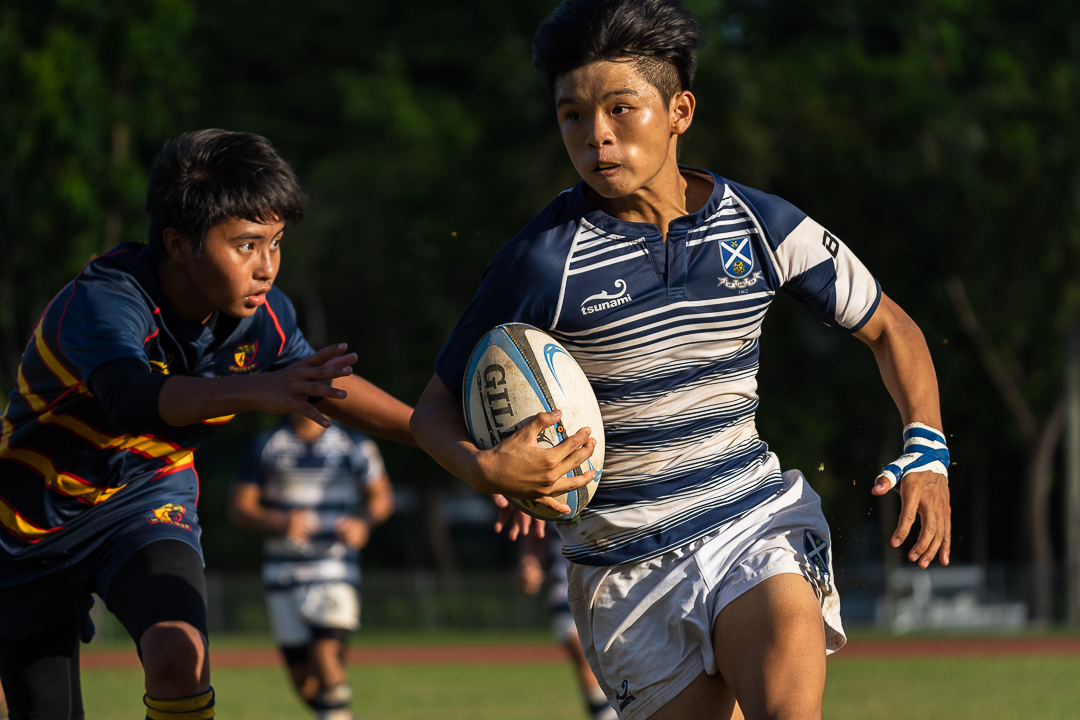
Twinkletoes. (Photo 17 © Adrian Tan/Red Sports)
2 vs 1 is fair odds. (Photo 18 © Adrian Tan/Red Sports)
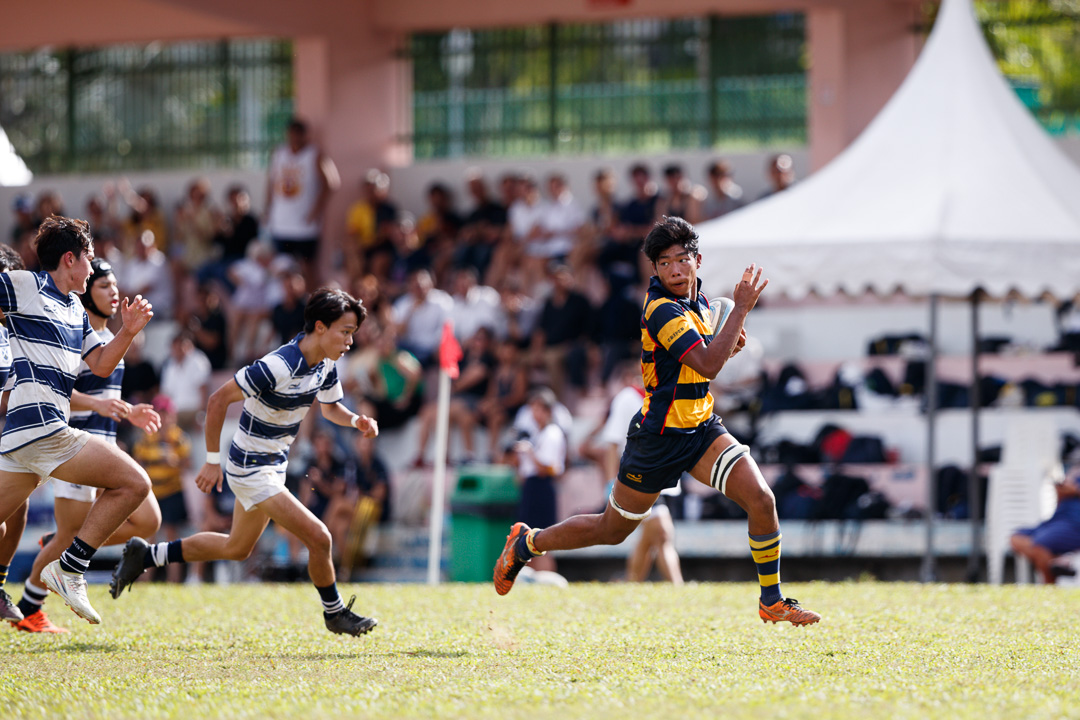
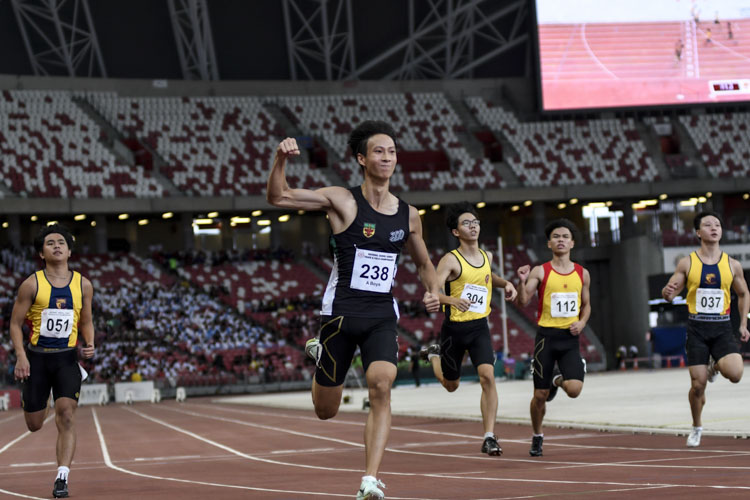
Ed’s note: If you recognise the players, please let us know their names and we’ll update the captions. Please tell us the photo number. Thanks.


Leave A Comment