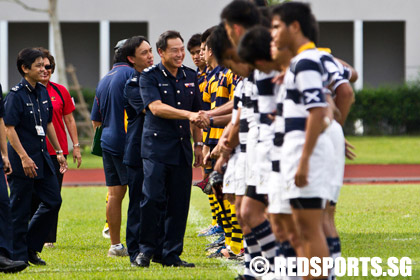
The Police commissioner being introduced to the players from both teams. (Photo 22 © Marvin Lowe/Red Sports)
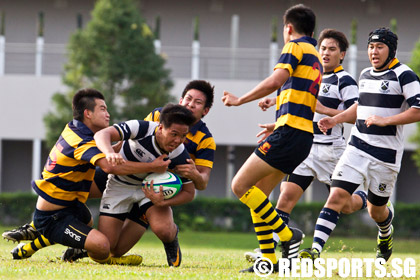
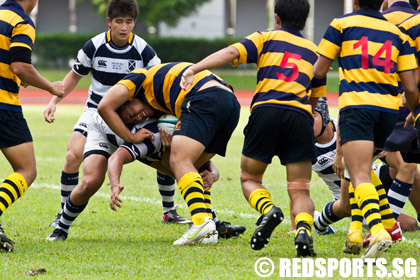
Two ACS(I) players combine forces to bring to down the SAJC player. (Photo 23 © Marvin Lowe/Red Sports)
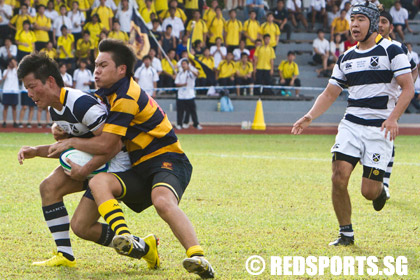
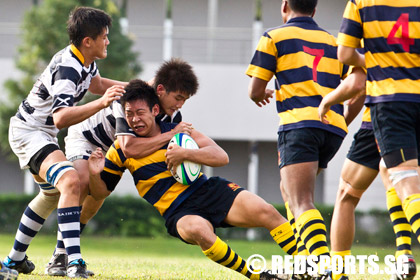
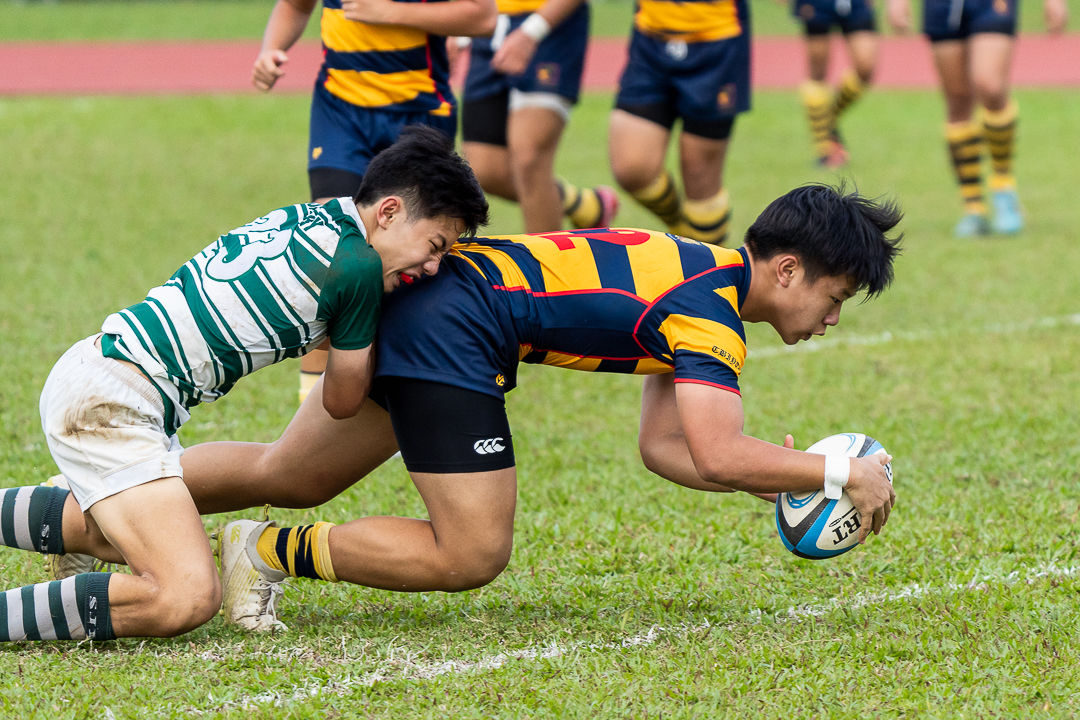
An ACS(I) player grabs a SAJC player from behind… (Photo 24 © Marvin Lowe/Red Sports)
…and tackles him to the ground. (Photo 25 © Marvin Lowe/Red Sports)
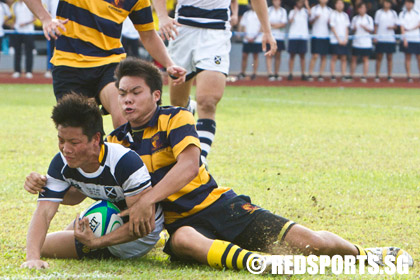
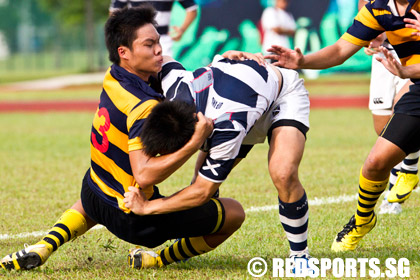
A SAJC player tackles an ACS(I) player. (Photo 26 © Marvin Lowe/Red Sports)
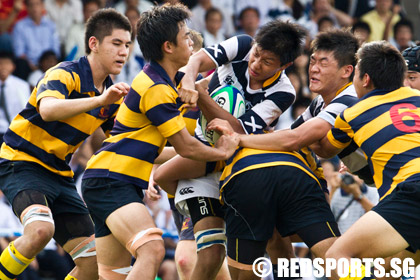
The SAJC player tries to push his way past the ACS(I) defense. (Photo 27 © Marvin Lowe/Red Sports)

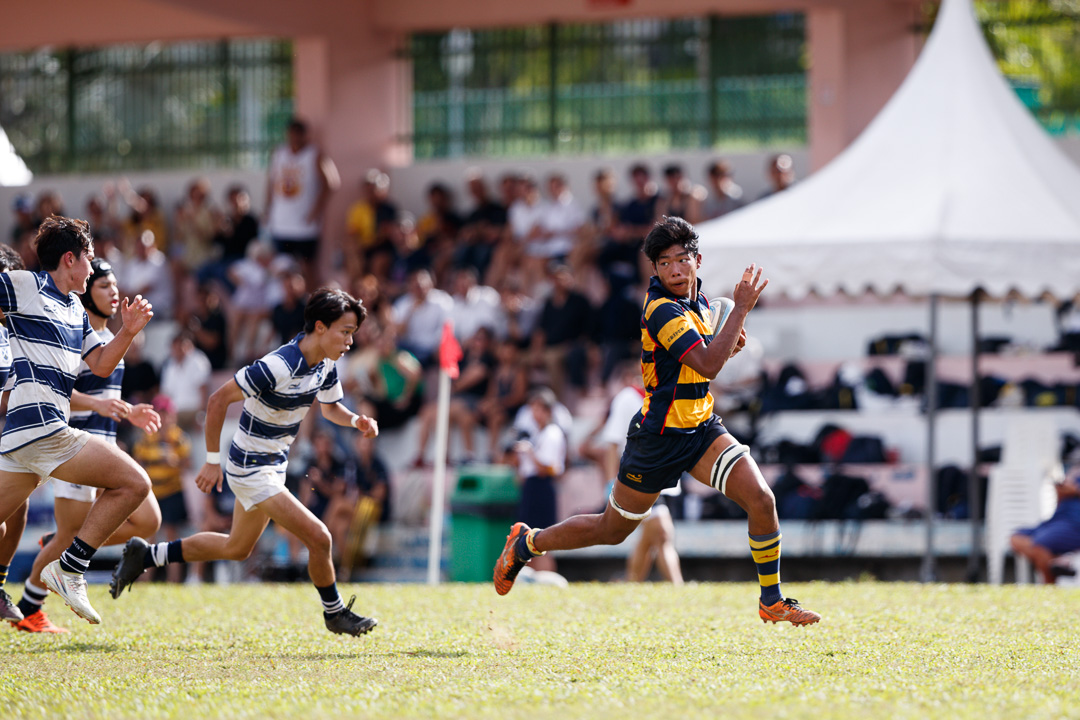
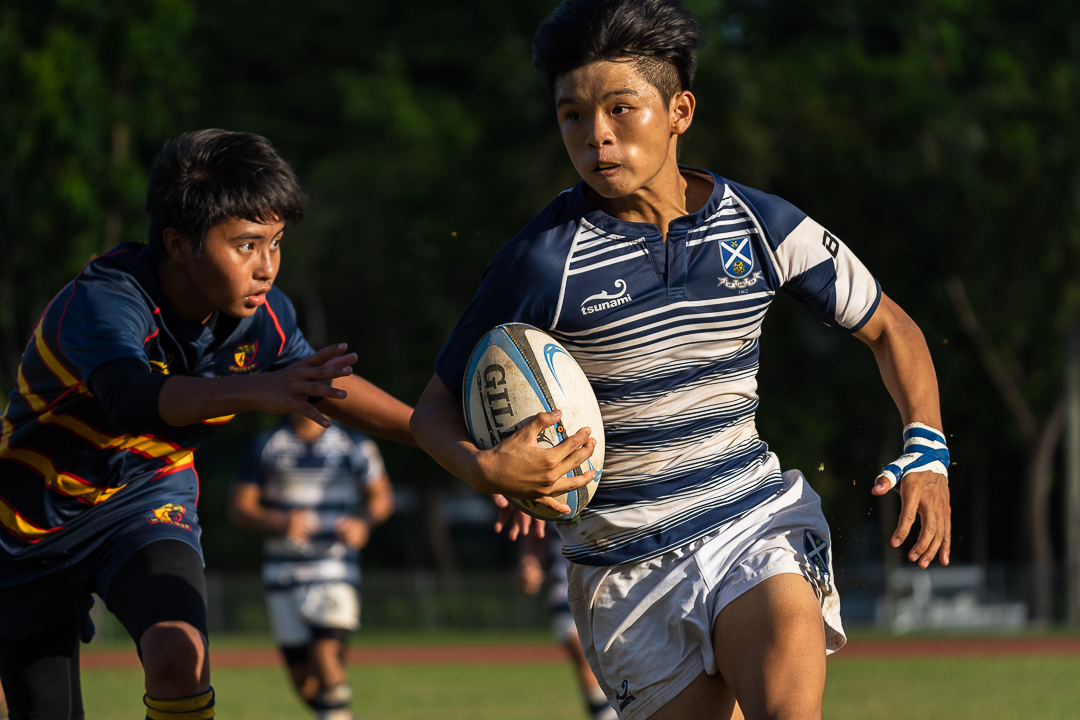
A SAJC player sprints down the flanks trying to break past the ACS(I) defense. (Photo 28 © Marvin Lowe/Red Sports)
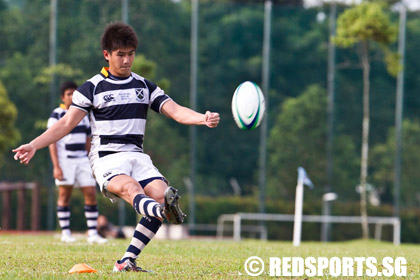
Nin Larpwongmetee (SAJC #18) kicks in a penalty conversion. (Photo 29 © Marvin Lowe/Red Sports)
The ACS(I) defender brings down the SAJC attacker with a strong tackle. (Photo 30 © Marvin Lowe/Red Sports)
The ACS(I) player tries to force his way past the SAJC defensive line. (Photo 31 © Marvin Lowe/Red Sports)
Go to next page for more photos


SAJC player in photo 16 is Nicholas Yau
Sorry, some correction, Saints did not performed our traditional Haka Dance. Haka is the name given to the battle-cry of the New Zealand All Blacks team. The Battle-Cry of St Andrew’s is called the Saints Battle-Cry.
thanks for the correction, saint.
I really like photo 36. it represents the pure joy. its the greatness of sports
In photo 10, Saints scrum half is Ng Chun Long who is a former ACS(I) scrum half in last year’s B Div. He has shown great character in playing against his old teammates. Well done boy!
Thanks, m.
The SAJC player in photo 4 & photo 29 is Nin Larpwongmetee (SAJC number 18).
Thanks, Justin.